
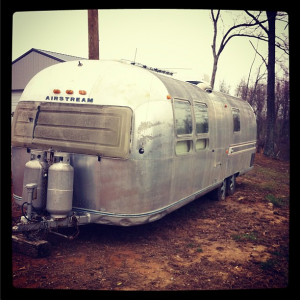
Slowly but surely we’ve been working on our 1971 Airstream Land Yacht, Ethel. You can see all her before photos here. We are taking her out to Nebraska for my sister in laws wedding in TWO weeks! There is still SO much to do. So when i’m not at our shop i’m working on her.
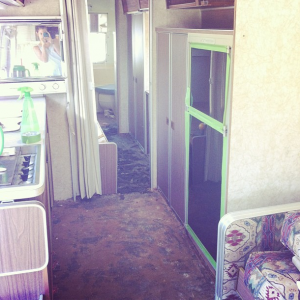
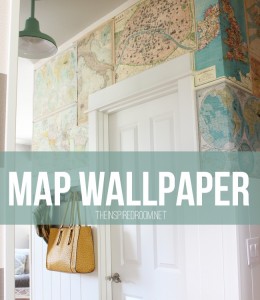
I found this idea on pinterest and loved it! There are several wall areas in the camper that have this hideous crappy wall paper as you can see below.
Our ugly wall paper….
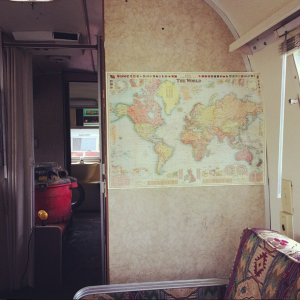 So at first I had this lovely little idea in my head that these pretty little maps were just going to stick to this (what I think is vinyl) type wall. WRONG. After about 10 minutes of trying to figure out how to make it stick I said screw it (patient huh?). So then I looked over at our ugly countertops that I had previously refinished but just wasn’t in love with and decided I was just going to stick those maps on the counter top ( I WILL have maps in this camper! lol).
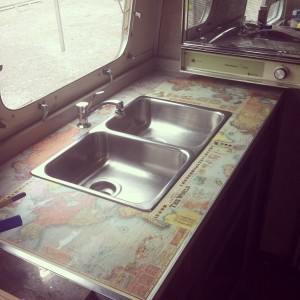
It was actually VERY SIMPLE. I wouldn’t recommend doing a whole kitchen in your house or anything crazy since it’s a bit busy. In the camper we’ve only got about a 4 1/2 foot countertop so it just ads a fun element.
I’ll post more photos as we go on our renovation but a lot of y’all were asking for instructions on this so I thought i’d go ahead and fill ya in 😉
What you’ll need:
~Maps ( I got mine here)
~ A Wet Rag
Step 1: Take your fine grit sand paper and sand the entire surface.
Step 2: Take your wet rag and wipe down the surface to get all the crap you just sanded off completely off the surface. Allow surface to dry.
Step 3: Figure out the placement of your maps. I didn’t really have any rime or reason, I was just trying to do as little cutting and piecing as possible so you could see more large areas of the maps. Totally up to you if you want to make it more scrappy:)
Step 4: Start cutting pieces of your map to fit the space.
Step 5: To start placing the map pieces in place take your foam brush and coat the back of the map with the mod podge as well as the area you are about to place the map on. Put the map in place, then take your plastic smoother and smooth out the area. Repeat this until you’ve covered the whole area. Allow to dry for about 45 minutes.
Step 6: Take your foam brush and coat the entire area that you’ve just covered in maps with mod podge. This will seal them down in place. NOTE: if you do not wait for the maps to dry from step 5 then they may get soggy and start bubbling! You’ve been warned:)
Allow about 1 hour for the top coat of mod podge to dry then apply another coat.
Allow another hour or more for that 2nd top coat to dry.
Step 7: Grab either another foam brush, a foam roller, or a paint brush and apply a thin coat of polyurethane to the entire area. This is going to act as your waterproof like barrier (I have no idea if this is actually waterproof but we’ve used it on all kinds of stuff we sit drinks on and no problems yet).
We tend to coat things with polyurethane at least two times.
And that’s it!
I maybe spent $20 on this project. *high five*
