Restoring Ethel – DIY Map Countertops

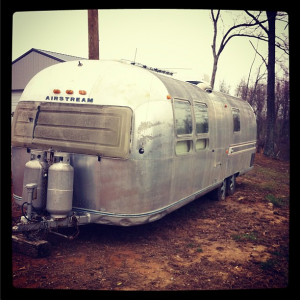
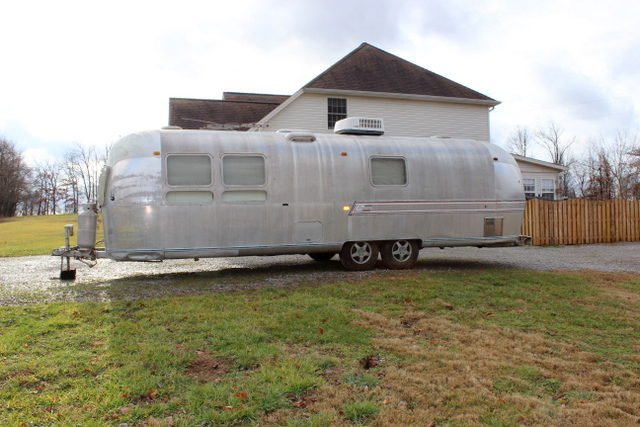
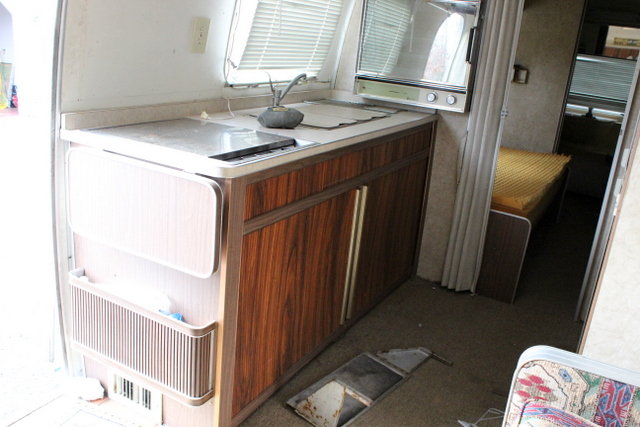
Slowly but surely we’ve been working on our 1971 Airstream Land Yacht, Ethel. You can see all her before photos here. We are taking her out to Nebraska for my sister in laws wedding in TWO weeks! There is still SO much to do. So when i’m not at our shop i’m working on her.

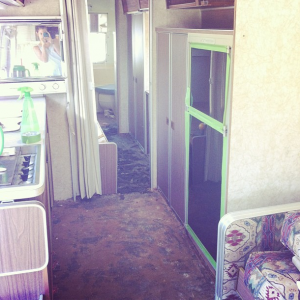
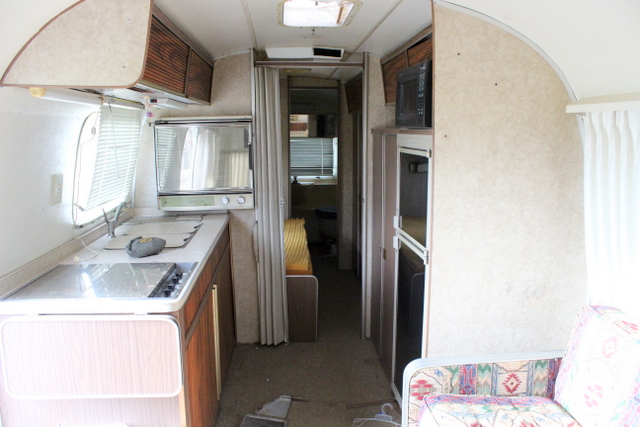
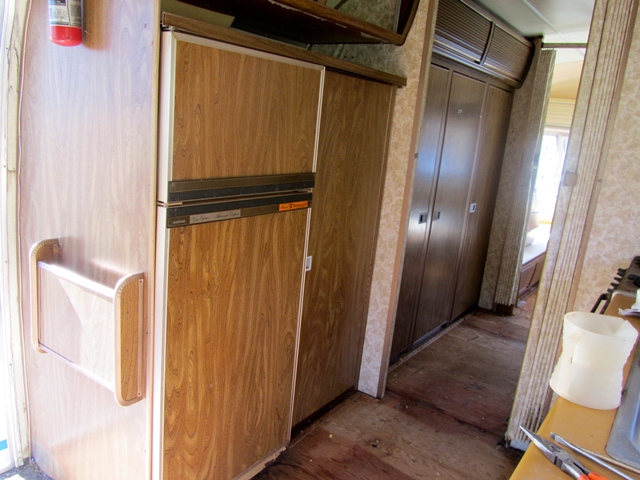
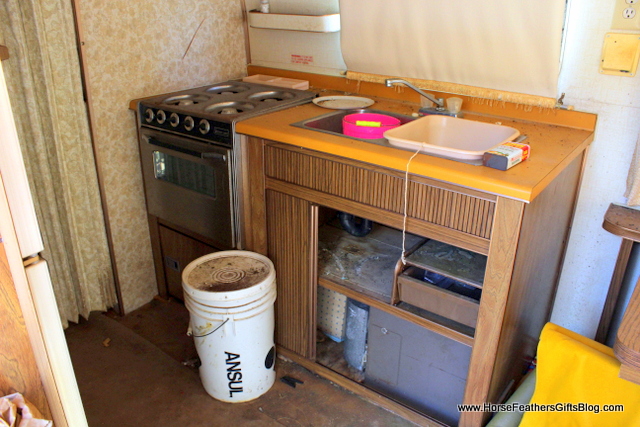
I found this idea on pinterest and loved it! There are several wall areas in the camper that have this hideous crappy wall paper as you can see below.

Our ugly wall paper….
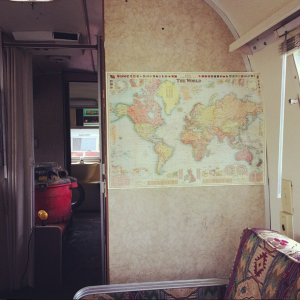
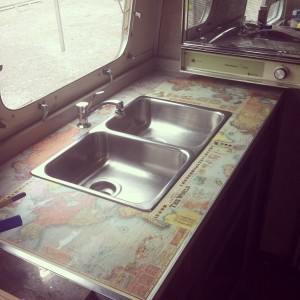
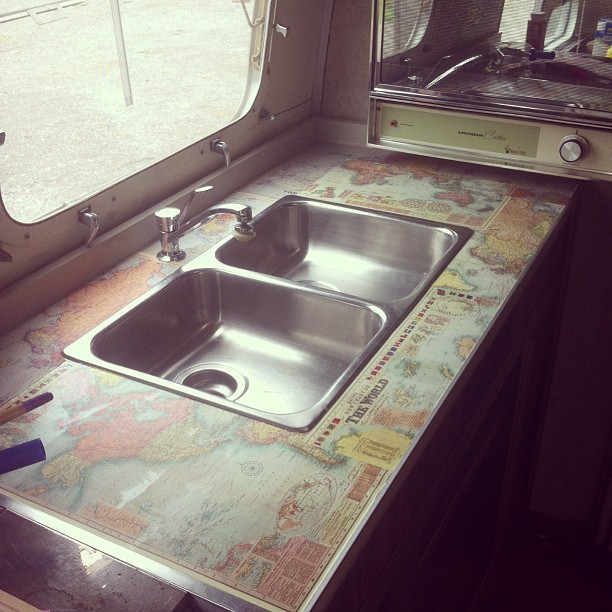
So at first I had this lovely little idea in my head that these pretty little maps were just going to stick to this (what I think is vinyl) type wall. WRONG. After about 10 minutes of trying to figure out how to make it stick I said screw it (patient huh?). So then I looked over at our ugly countertops that I had previously refinished but just wasn’t in love with and decided I was just going to stick those maps on the counter top ( I WILL have maps in this camper! lol).

It was actually VERY SIMPLE. I wouldn’t recommend doing a whole kitchen in your house or anything crazy since it’s a bit busy. In the camper we’ve only got about a 4 1/2 foot countertop so it just ads a fun element.

I’ll post more photos as we go on our renovation but a lot of y’all were asking for instructions on this so I thought i’d go ahead and fill ya in 😉

What you’ll need:

~Maps ( I got mine here)

~Mod Podge

~Foam Brush

~Wall Paper Smoother 

~Fine Grit Sand Paper

~ A Wet Rag

~Polyurethane 

Step 1: Take your fine grit sand paper and sand the entire surface.

Step 2: Take your wet rag and wipe down the surface to get all the crap you just sanded off completely off the surface. Allow surface to dry.

Step 3: Figure out the placement of your maps. I didn’t really have any rime or reason, I was just trying to do as little cutting and piecing as possible so you could see more large areas of the maps. Totally up to you if you want to make it more scrappy:)

Step 4: Start cutting pieces of your map to fit the space.

Step 5: To start placing the map pieces in place take your foam brush and coat the back of the map with the mod podge as well as the area you are about to place the map on. Put the map in place, then take your plastic smoother and smooth out the area. Repeat this until you’ve covered the whole area. Allow to dry for about 45 minutes.

Step 6: Take your foam brush and coat the entire area that you’ve just covered in maps with mod podge. This will seal them down in place. NOTE: if you do not wait for the maps to dry from step 5 then they may get soggy and start bubbling! You’ve been warned:)

Allow about 1 hour for the top coat of mod podge to dry then apply another coat.

Allow another hour or more for that 2nd top coat to dry.

Step 7: Grab either another foam brush, a foam roller, or a paint brush and apply a thin coat of polyurethane to the entire area. This is going to act as your waterproof like barrier (I have no idea if this is actually waterproof but we’ve used it on all kinds of stuff we sit drinks on and no problems yet).

We tend to coat things with polyurethane at least two times.

And that’s it!

I maybe spent $20 on this project. *high five*
 

Introducing Ethel- The Before Photos

That’s right, we bought another camper… I think I have a vintage camper addiction.

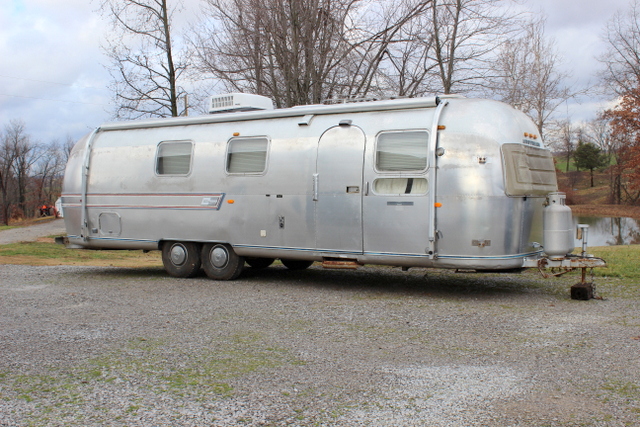
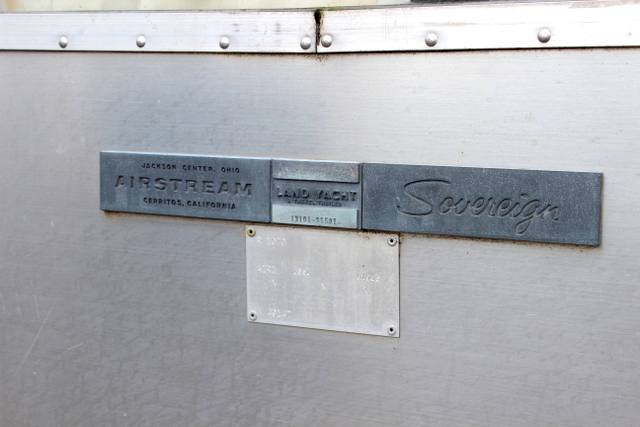
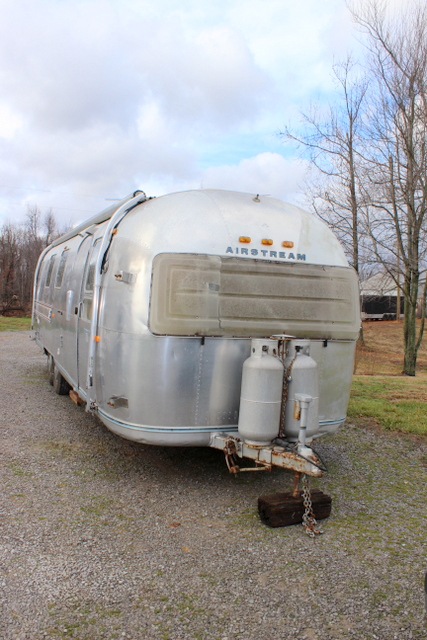
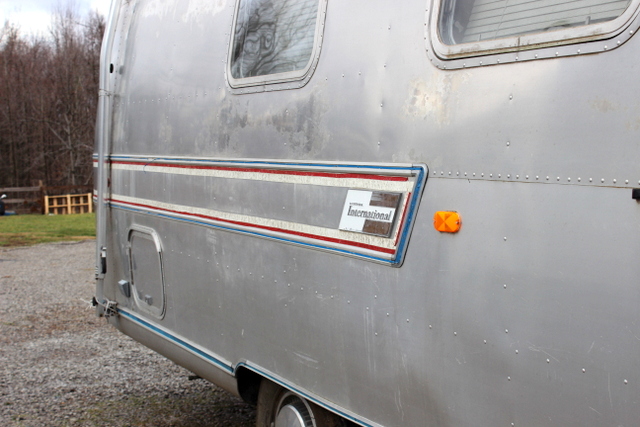
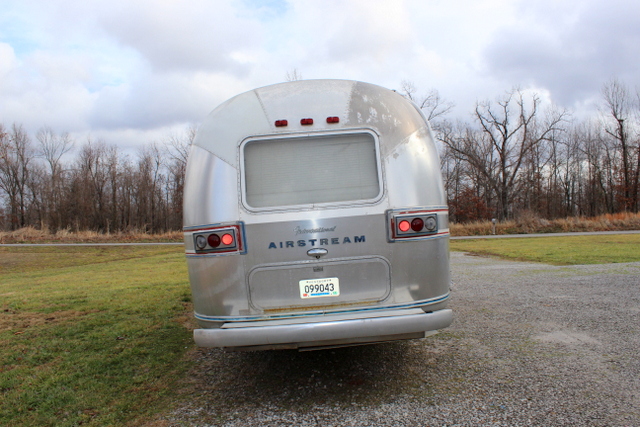
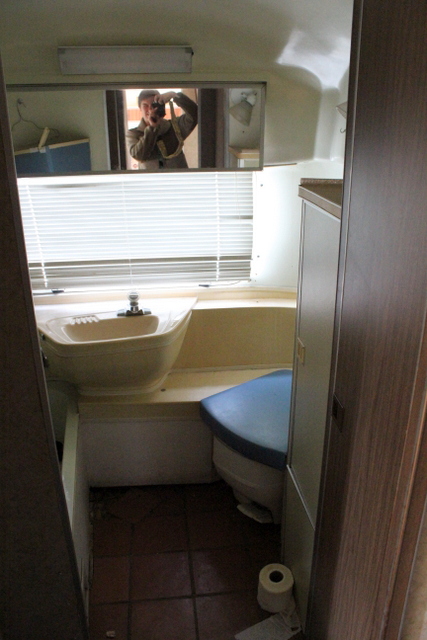
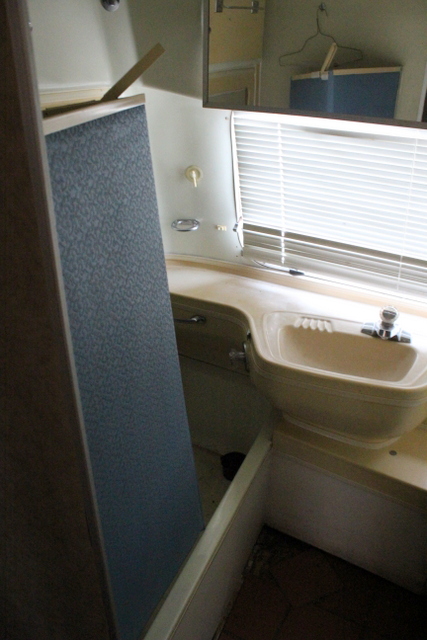
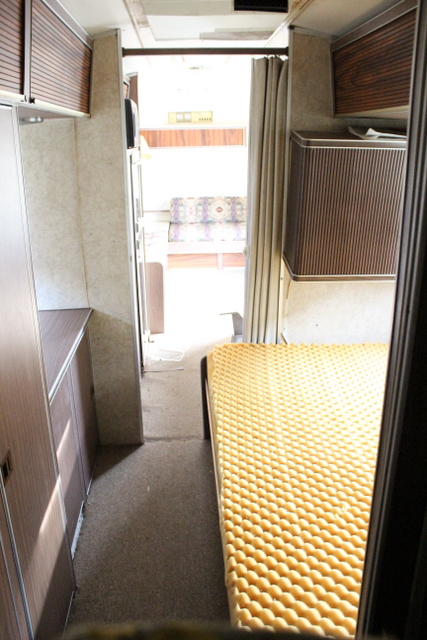
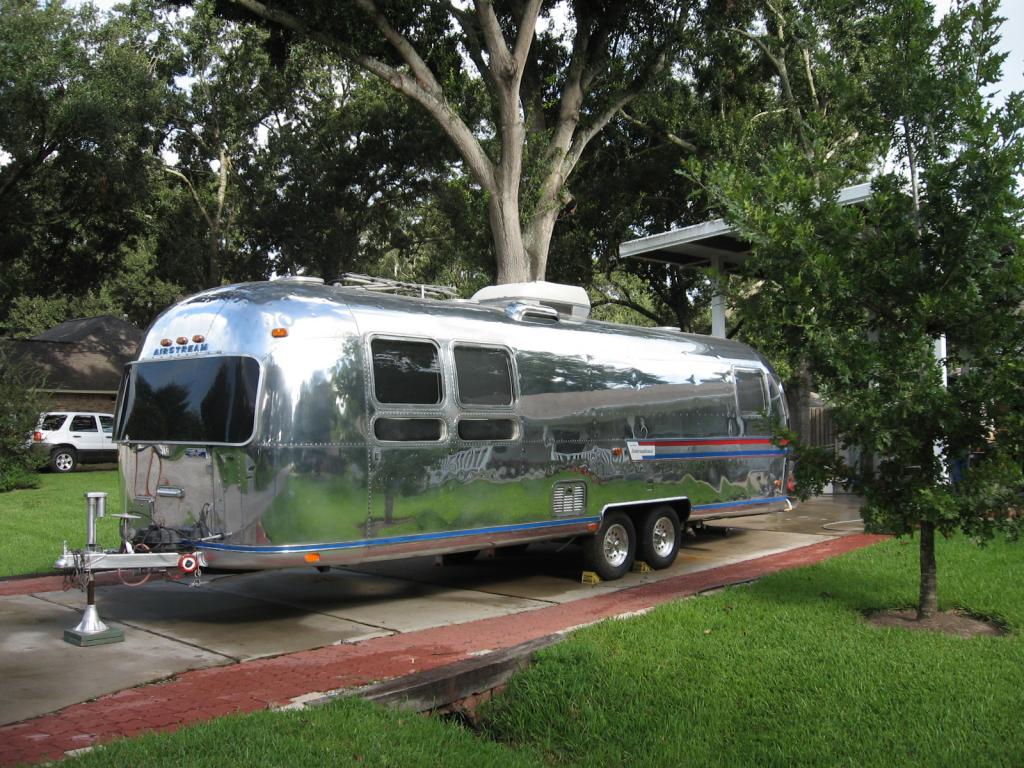
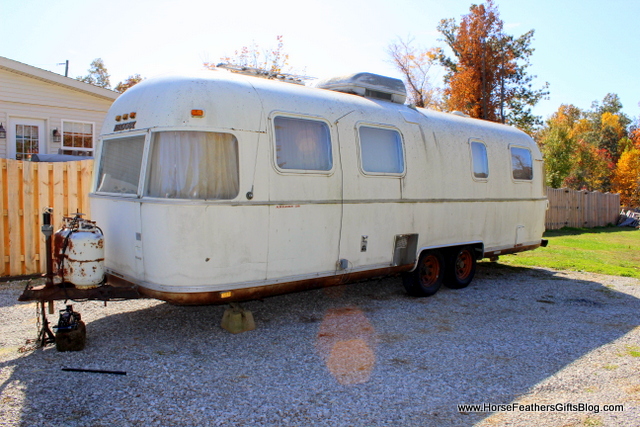
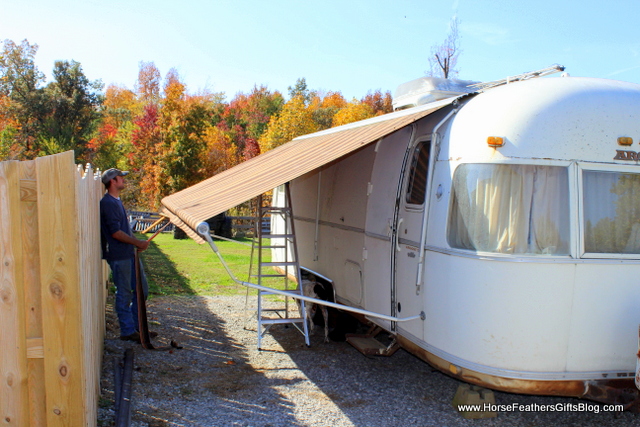
This is Ethel, a 1971 Airstream Sovereign Land Yacht. We had been looking for a vintage camper for a few months and hadn’t had any luck finding one anywhere near us so we were just patiently waiting until we found “the one” located closer to home. Luckily my Aunt Mary found one for us just a couple roads over 🙂

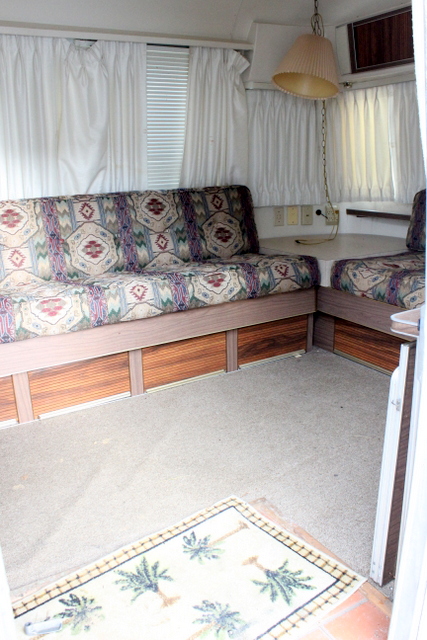
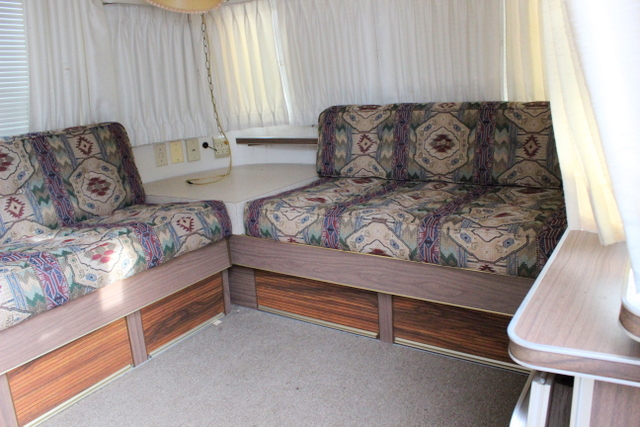
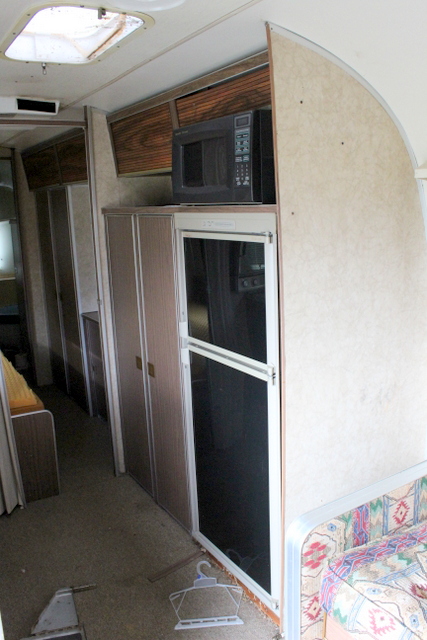
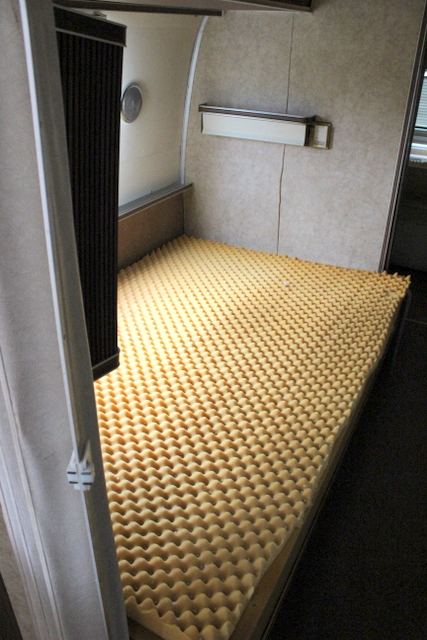
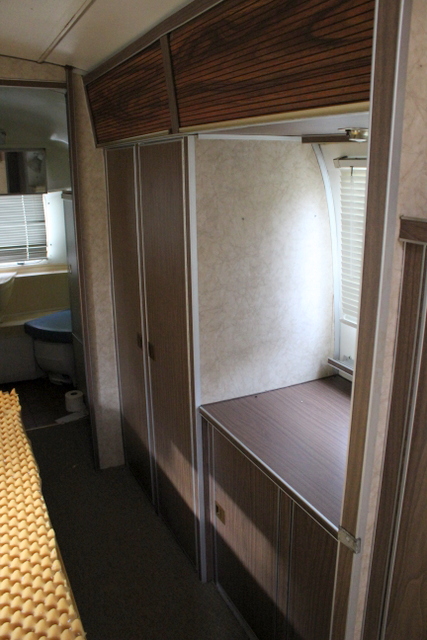
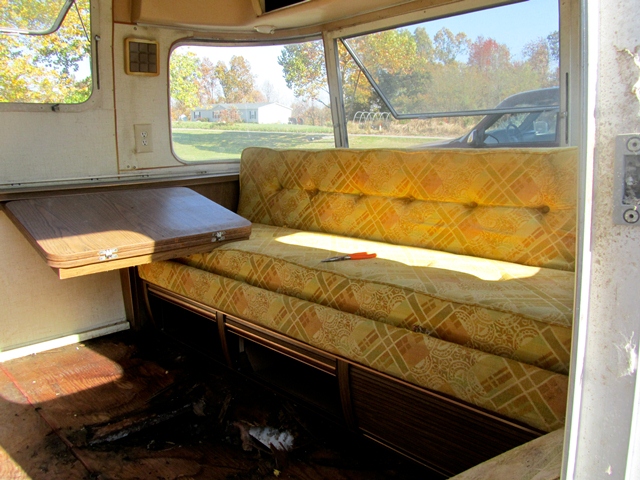
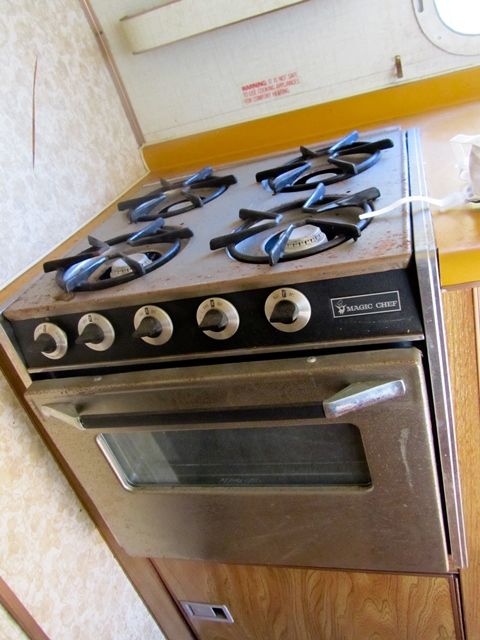
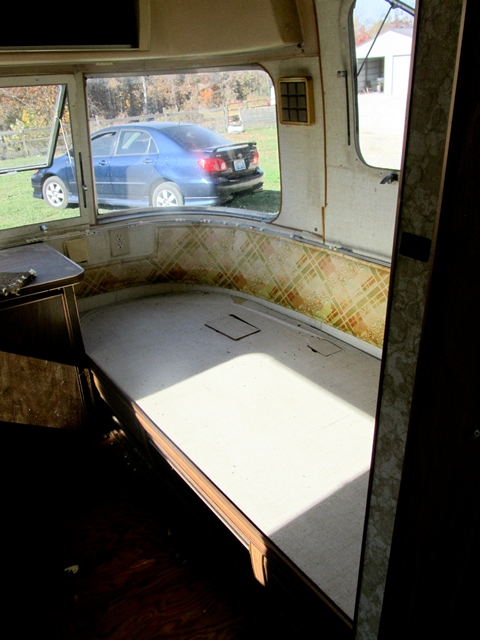
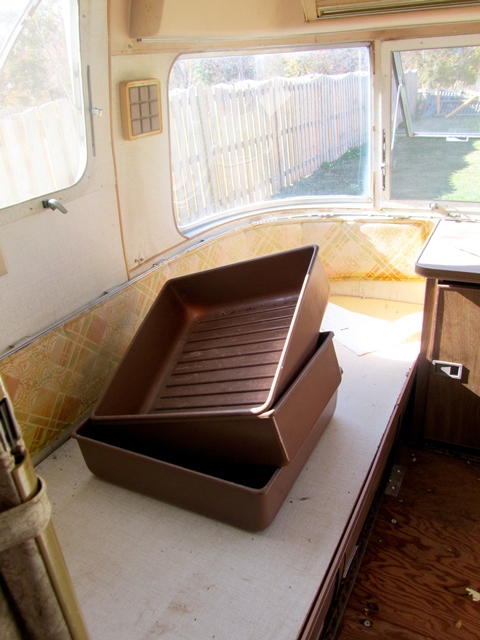
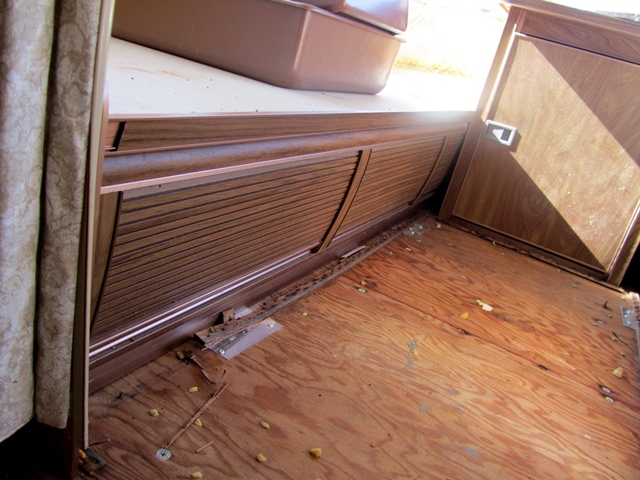
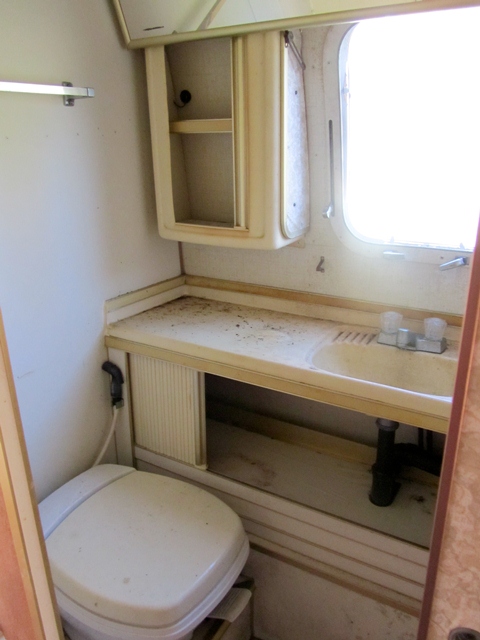
Here are the “before”  pics of Ethel. We aren’t doing to awful much to her. Just cleaning her up a bit, putting some funky HorseFeathers touches on the interior, polishing the exterior and installing new flooring.

 She’s actually in excellent condition overall:)

And here is what we are hoping to get her looking like over the next couple months….

Stay tuned for updates!  We are currently working on getting Bertha ready to paint. You can read about her over here😉

Cleaning Bertha- Airstream Argosy 28

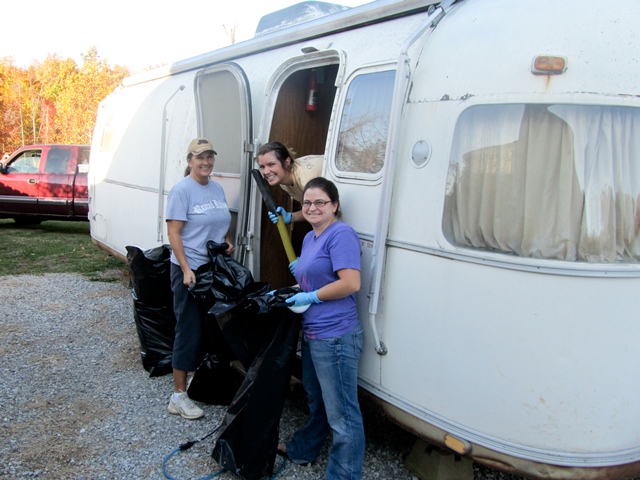
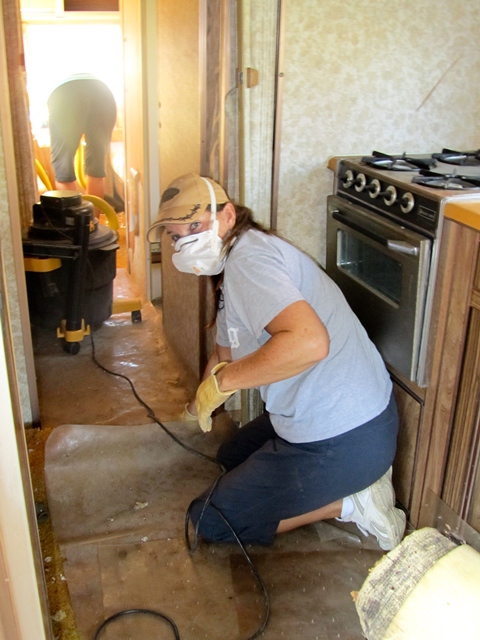
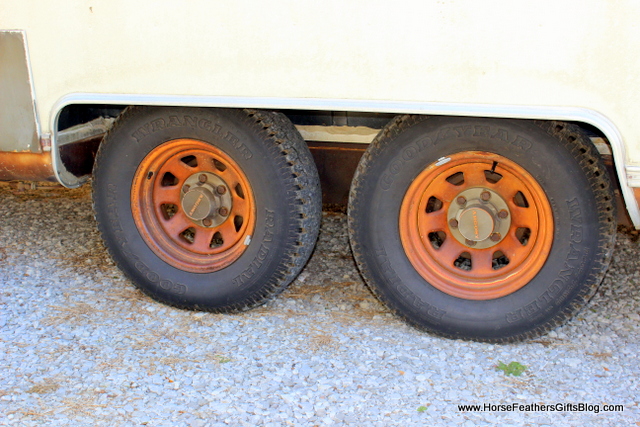
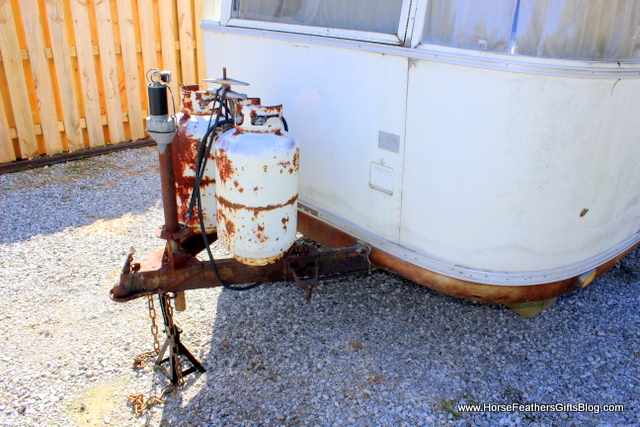
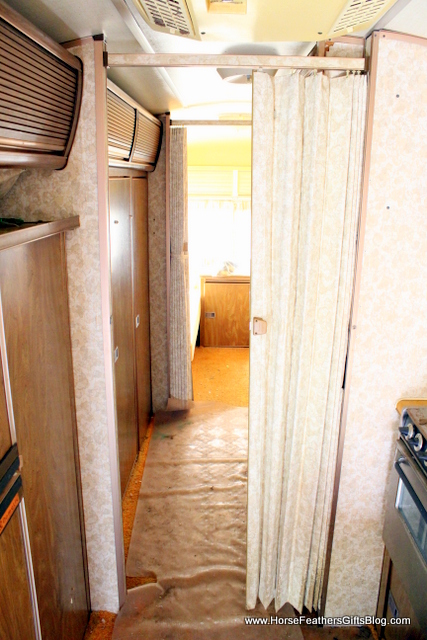
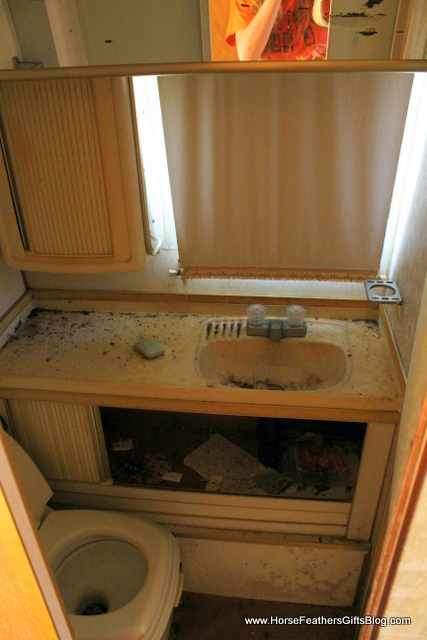
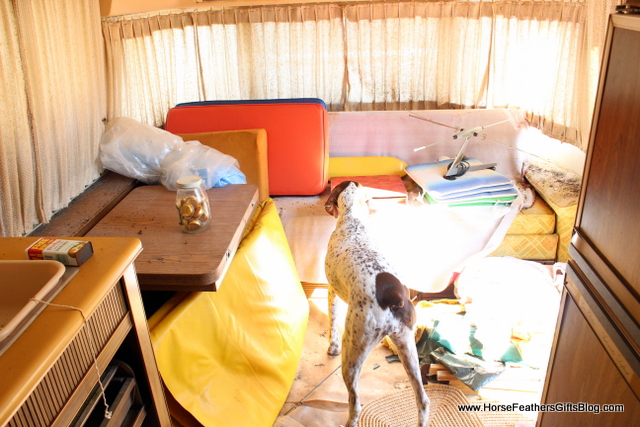
Yesterday we got together to start cleaning Bertha. Since she’s been sitting in a field for about 20 years she is nice and dirty. And by dirty I mean covered in mice urine and feces. Yep, the fun kind of dirty.


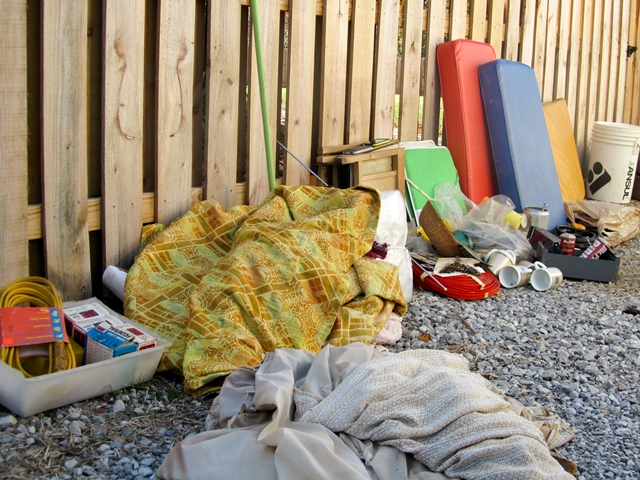
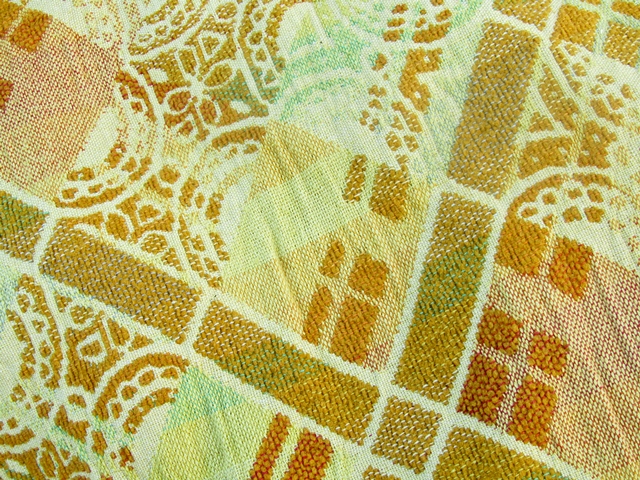
AMAZING fabric we found in Bertha:) Get ready for some limited edition items on our site using these bad boys! {After they are dry cleaned of course}

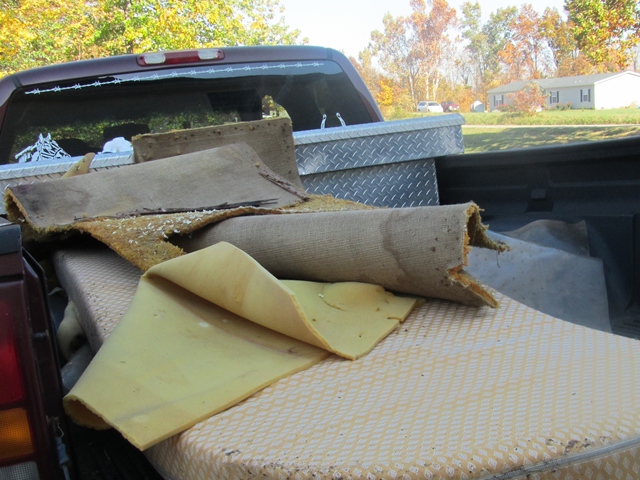
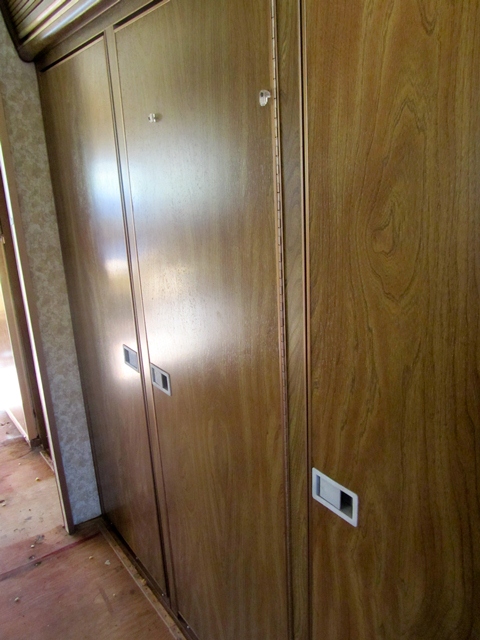
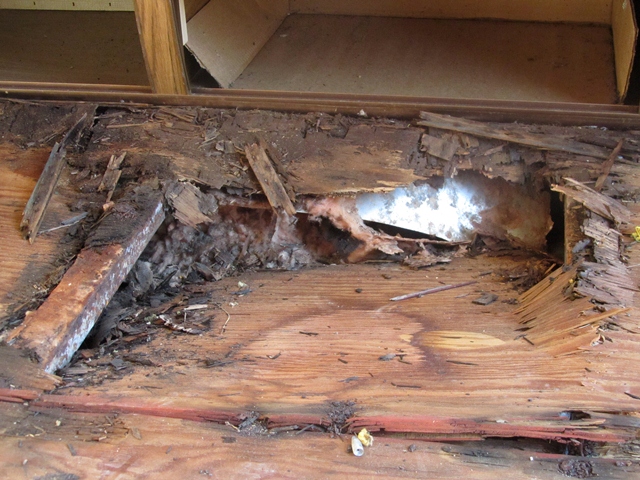
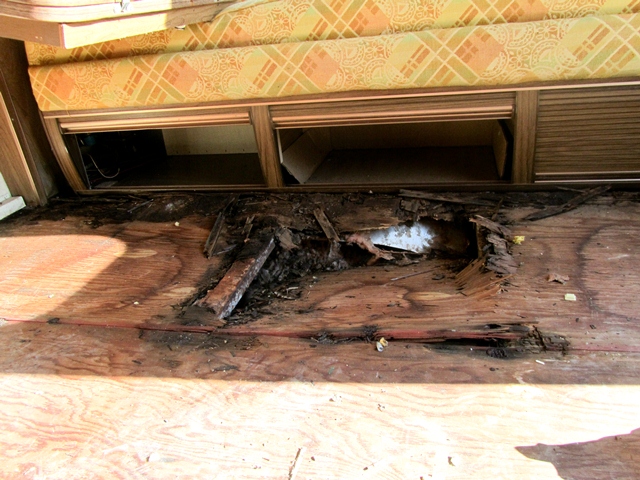
We knew there was a soft spot in the floor when we bought her, so we weren’t really surprised when we ripped up the carpet. We will obviously be replacing part of the floor. We are also installing new flooring fitting with the time period she was built {70’s}.

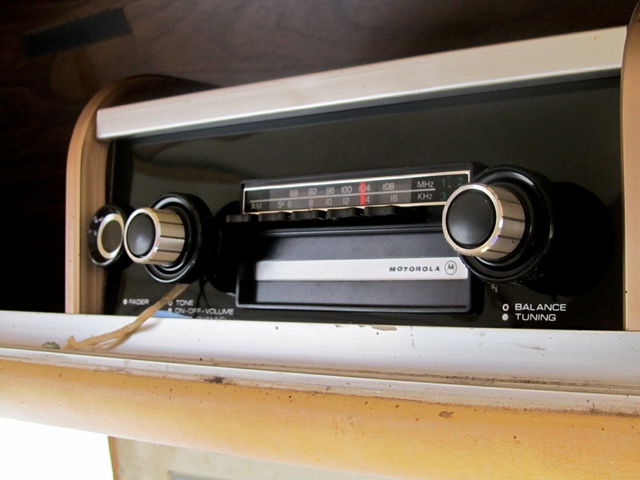
I could not believe the condition of this radio! Brand spankin new lookin! Yippee!!! And IT WORKS! We’ve got surround sound:) Two speaker up front and two in the back. You bet we will be using this baby!

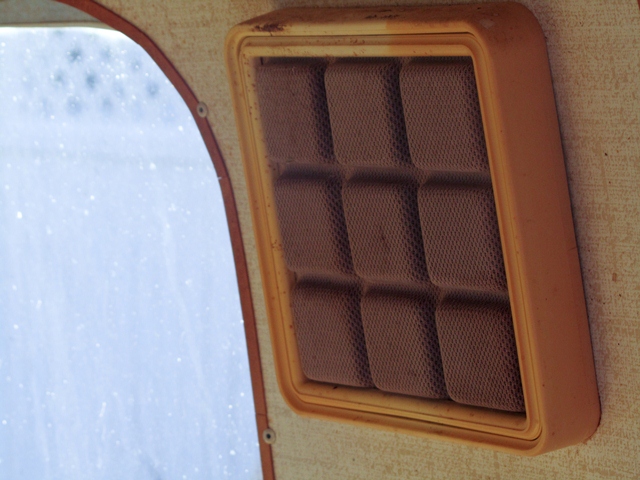
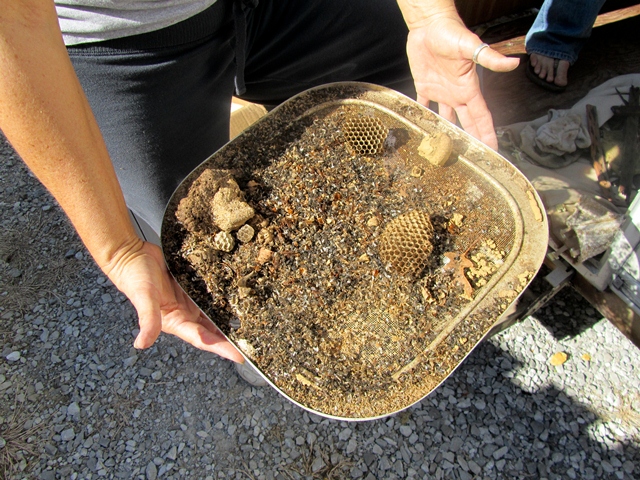
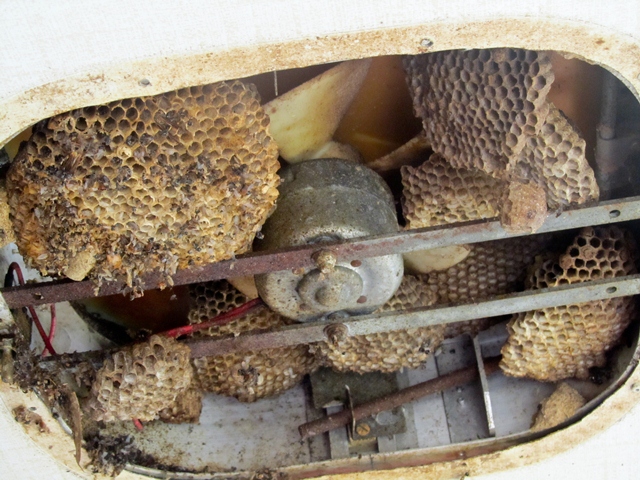
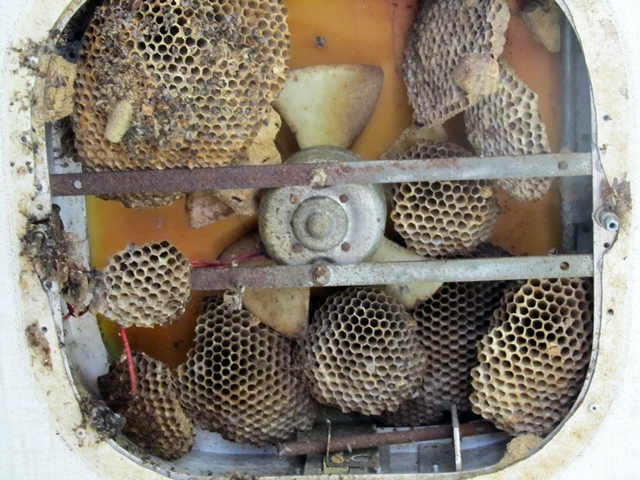
And here is what we found in the vent. Hello wasp colony! YUCK!

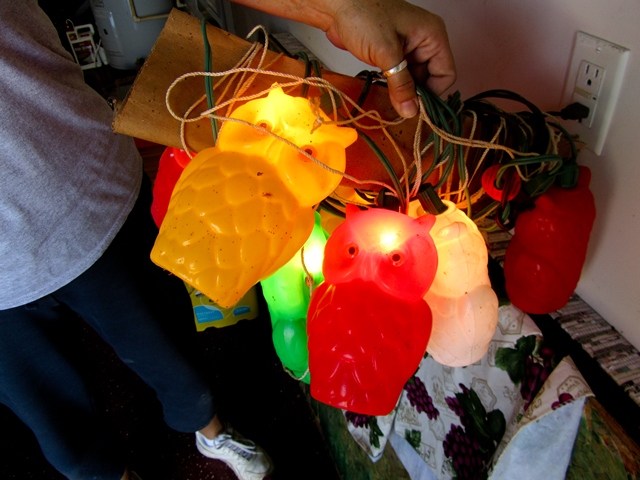
We like to save the best for last. Check out these awesome owl lights we found in Bertha! So fun!!  We also found several other cool items like an old razor, a yearbook from 1917, the original brochure and owners manual for Bertha in mint condition, and tons of other fun trinkets we are hanging on too:)

If you missed the before pics you can find them here.

Restoring Bertha- Airstream Argosy 28

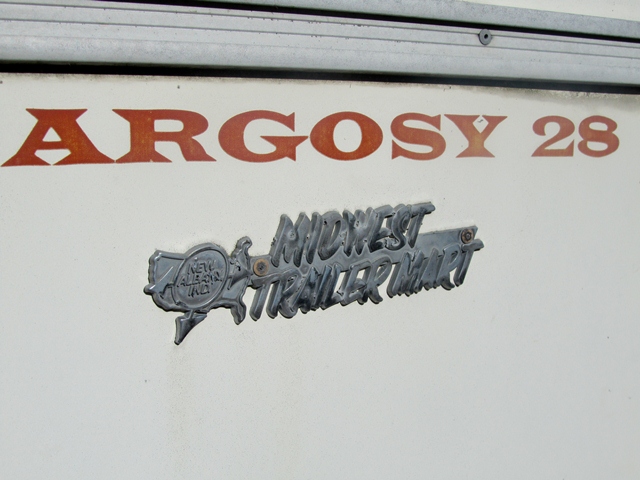
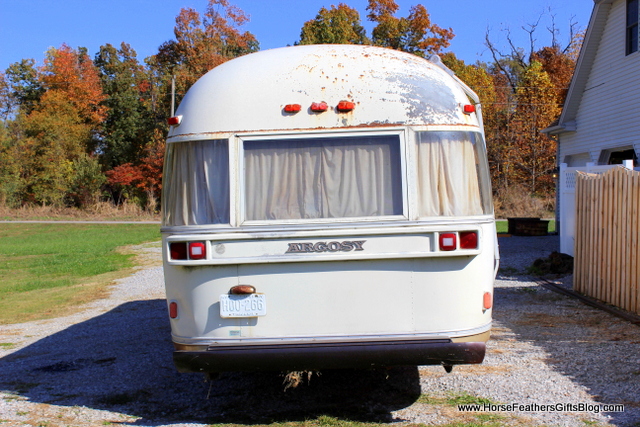
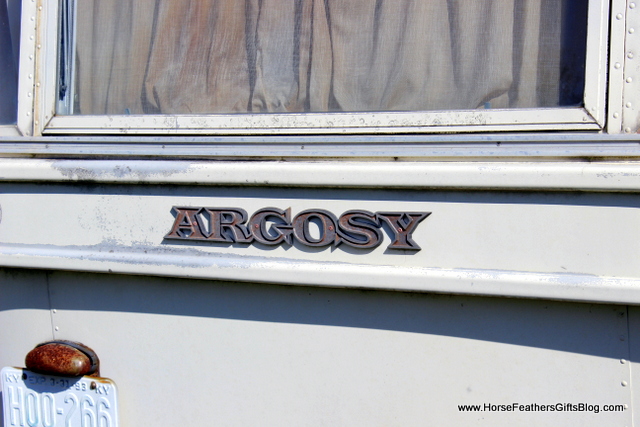
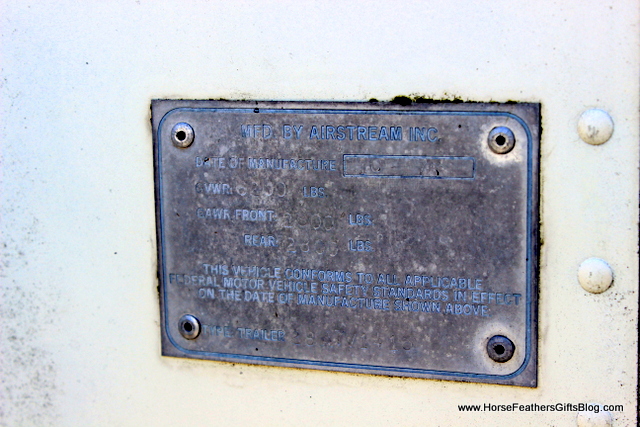
Meet the newest member of the HorseFeathers family, Bertha. She is an Airstream Argosy 28. Argosy was a line that Airstream sold from 1972-1979 (1972 being the first year they were designed and manufactured) and these were the first and only painted Airstreams.  Go us on finding a rare camper! woot woot!

We found her at an estate auction and found out she’s been sitting since her last trip in 1993.

Since she’s been sitting on a farm for about 20 years unused the mice decided to call her home…. We have LOTS of cleaning to do.  We plugged her in last night (fire extinguisher handy) and all electrical, AC and water pump work! Yipee!

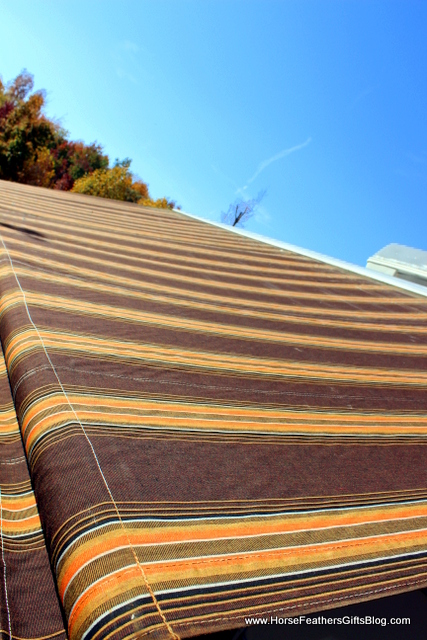
And then the nerve wracking part of opening the canopy. These babies are NOT cheap by any means so we were really hoping it wasn’t too rough. And we were super excited to find a totally UNUSED canopy in PERFECT CONDITION! *Happy Dance*
I pretty much LOVE the fabric on the canopy!

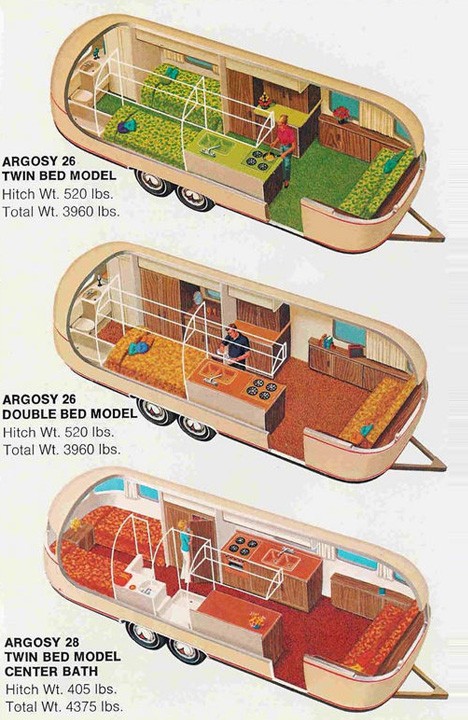
We found a ton of cool info on the airstream website too!  Ours is the 28 with the center bath. It’s so cool to see the brochure photos they use to use:)

You may be thinking we are going to fix her up and using her for camping. Well we aren’t. She’s going to be the mobile HorseFeathers shop🙂 We are going to fix her up and get her a nice new turquoise and white paint job (in the argosy original colors) and take her to shows so you can go inside and shop! We are keeping as much of her original interior as possible. We already know we are replacing the flooring and once we get in there and start cleaning we will get a better idea of what else needs to be done.

Stay tuned for updates on her progress along the way:)

The Hayloft Barn Sale

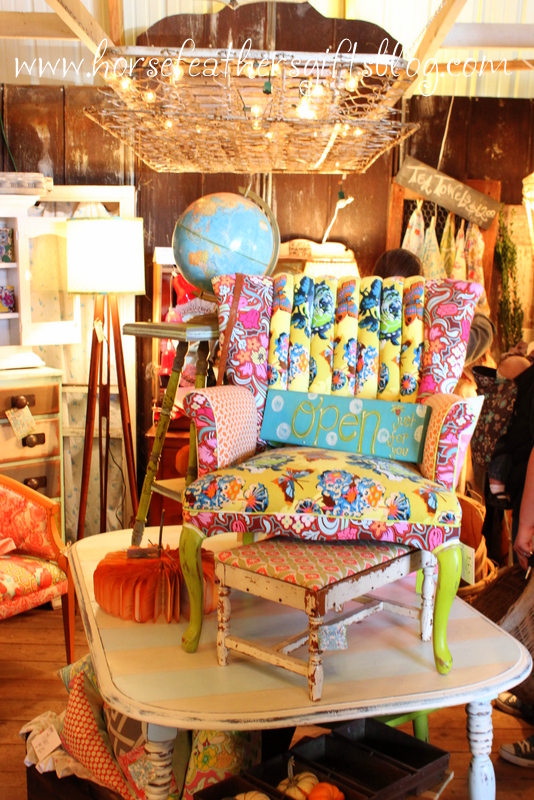
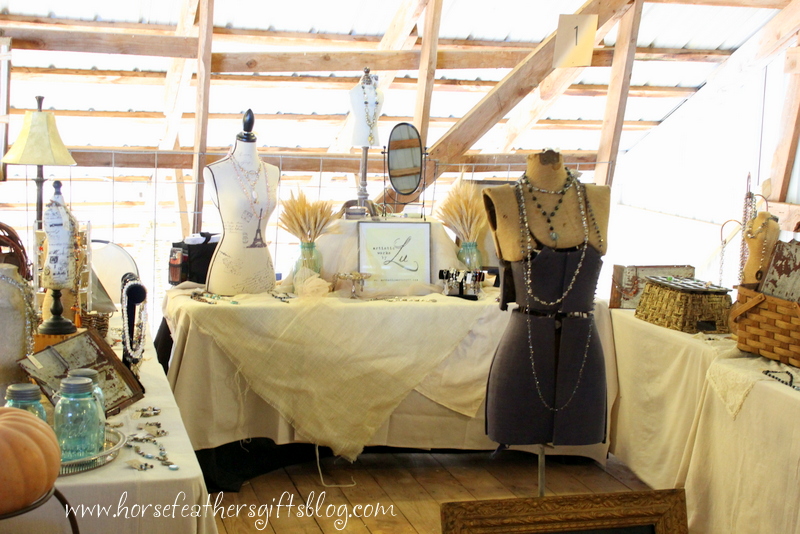
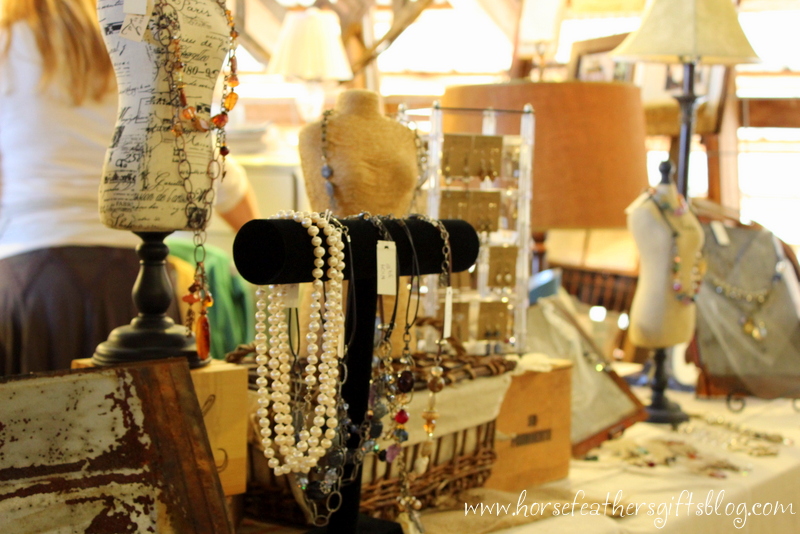
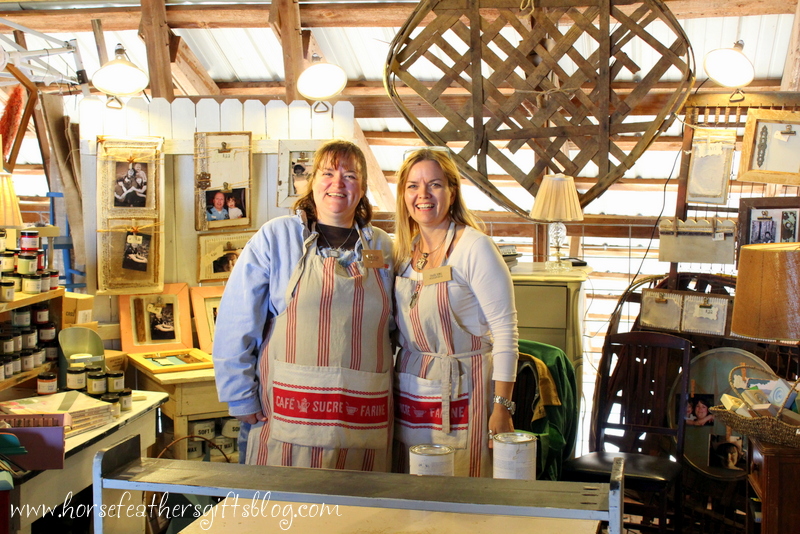
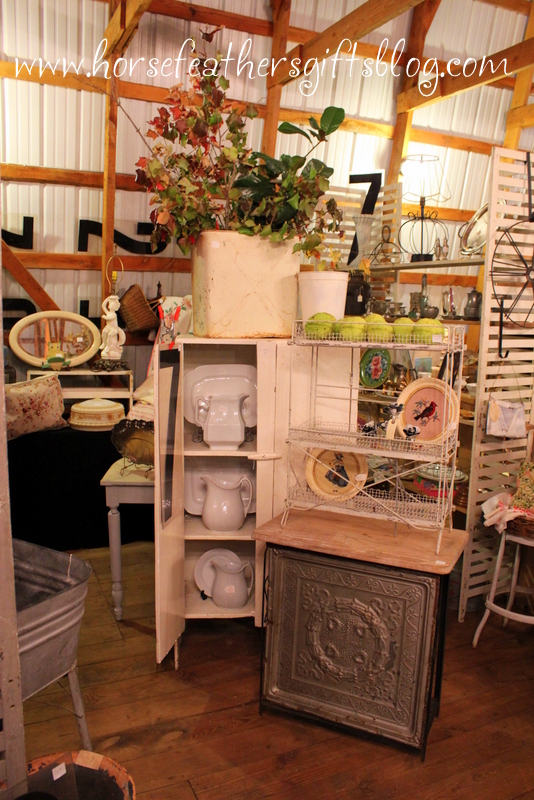
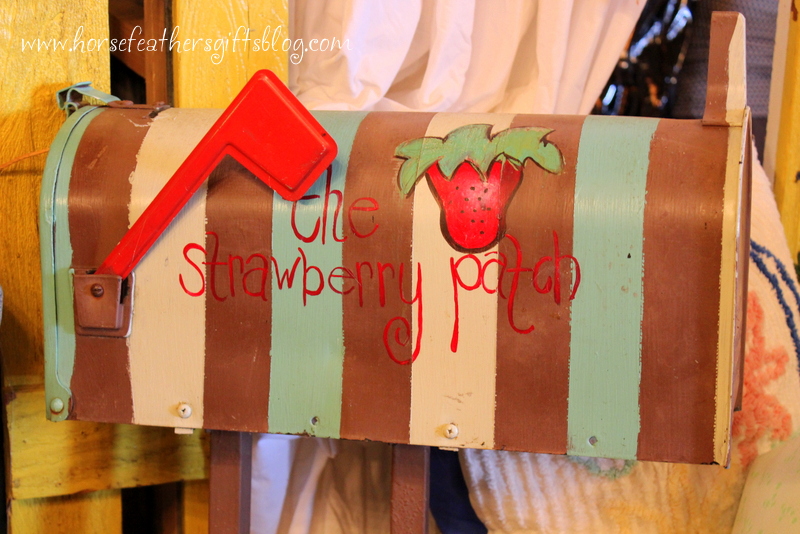
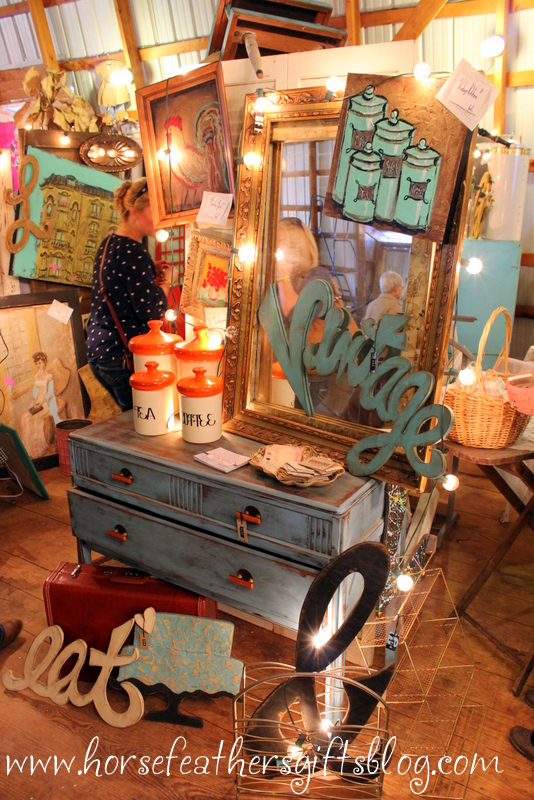
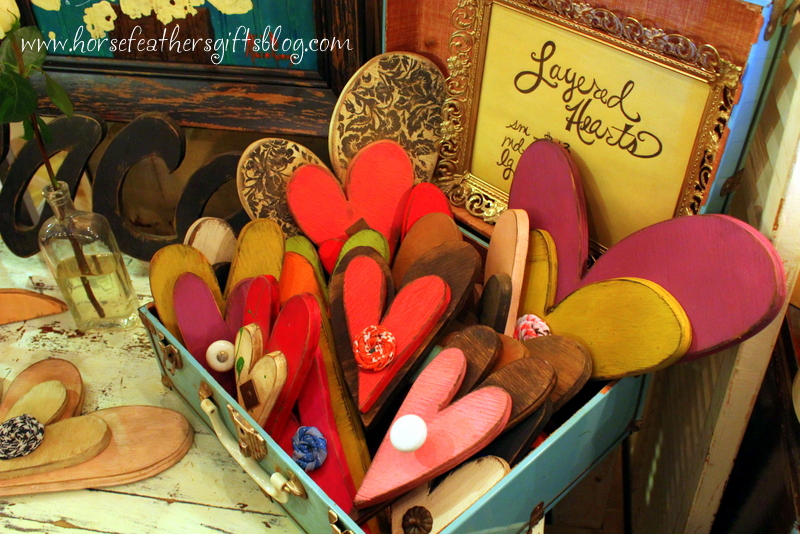
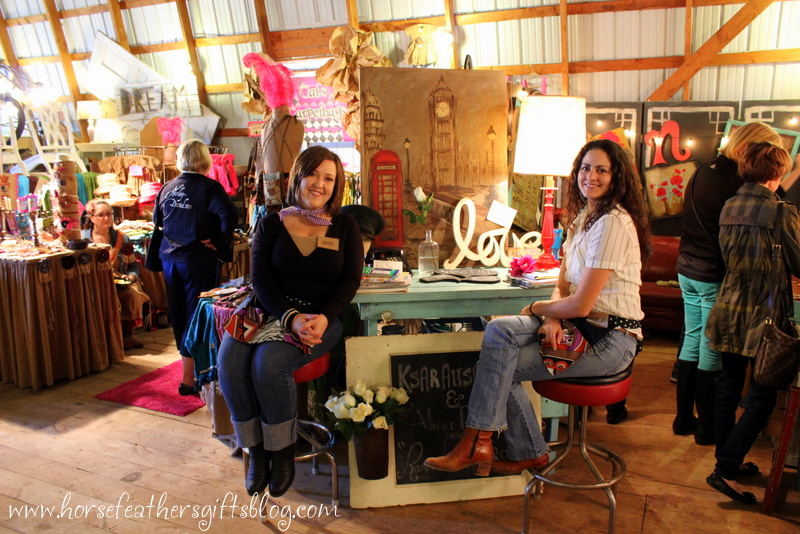
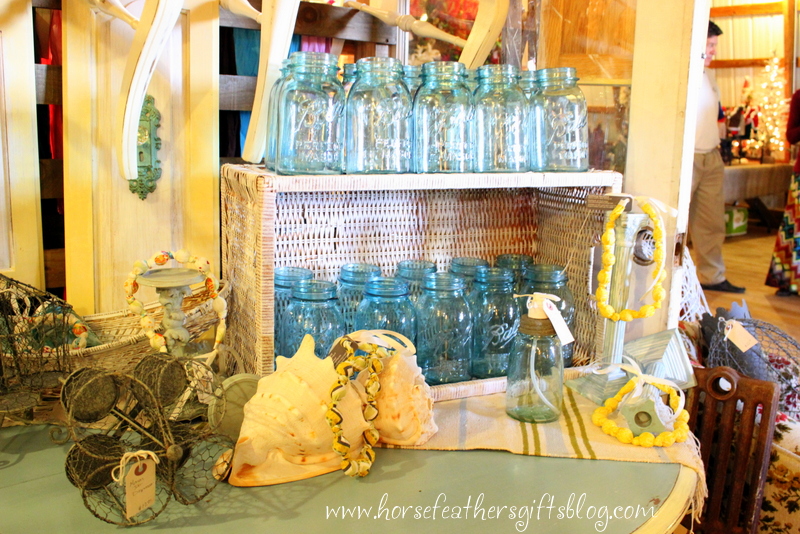
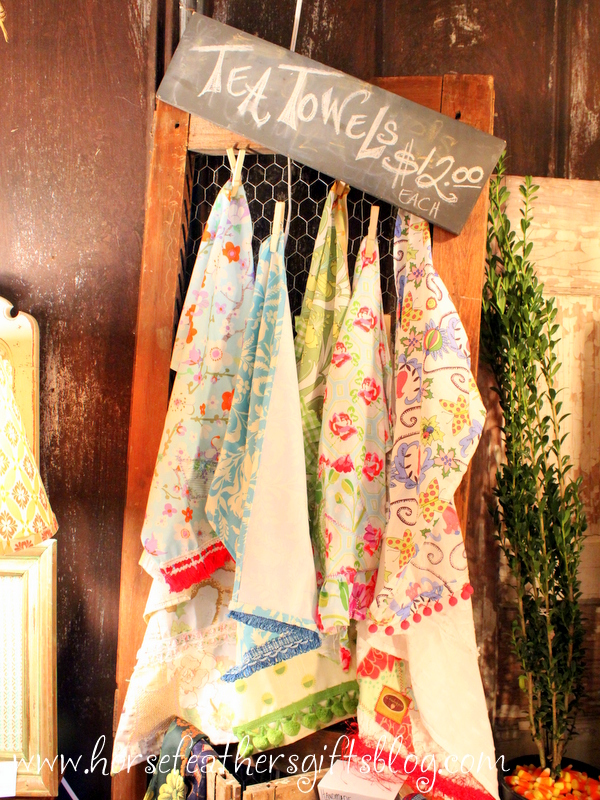
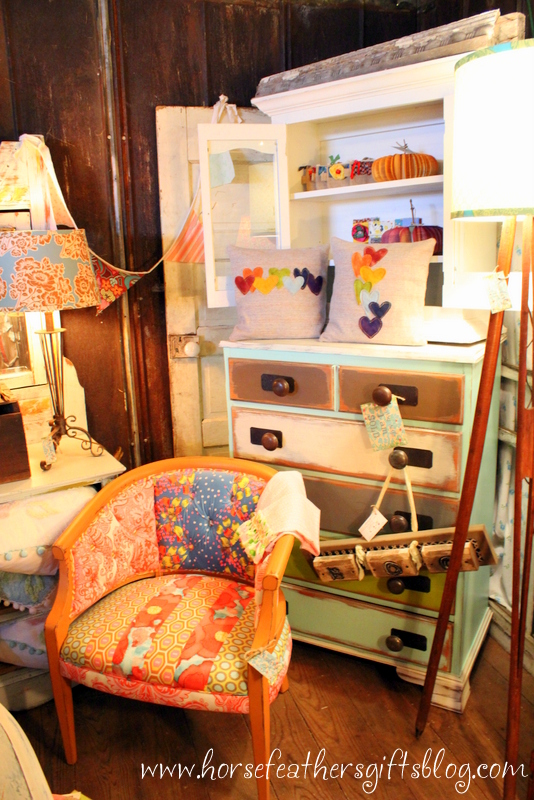
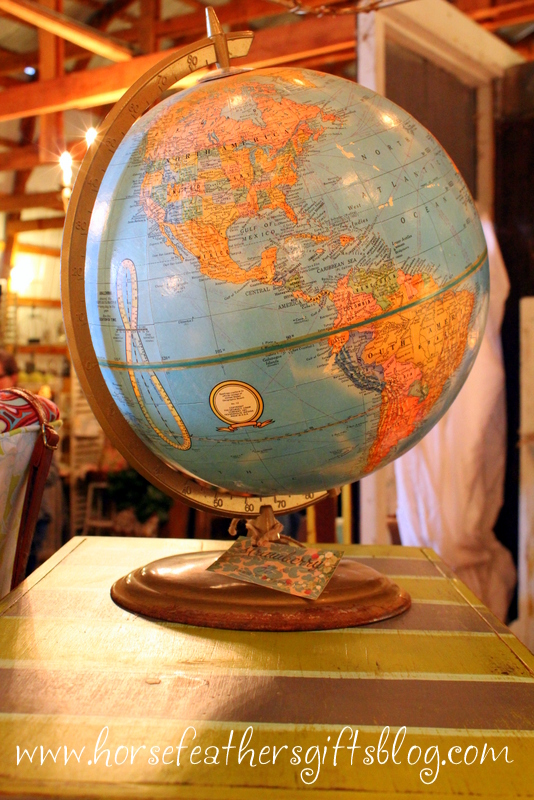
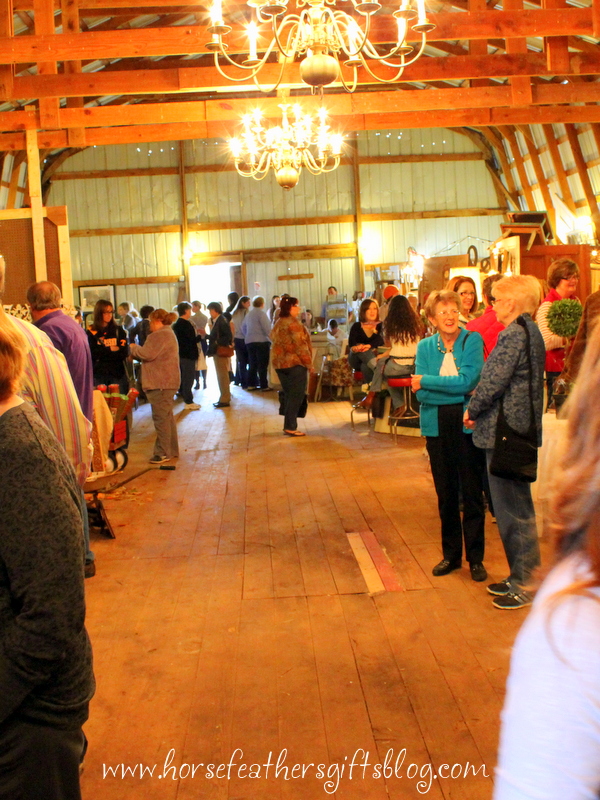
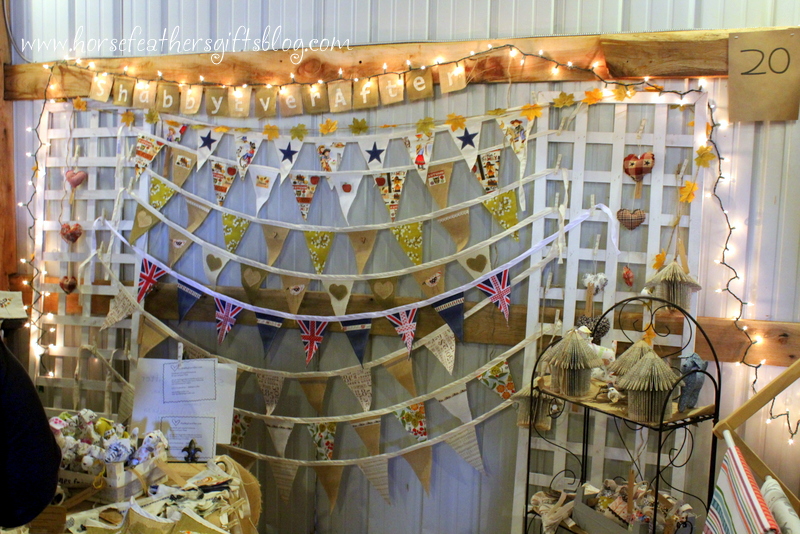
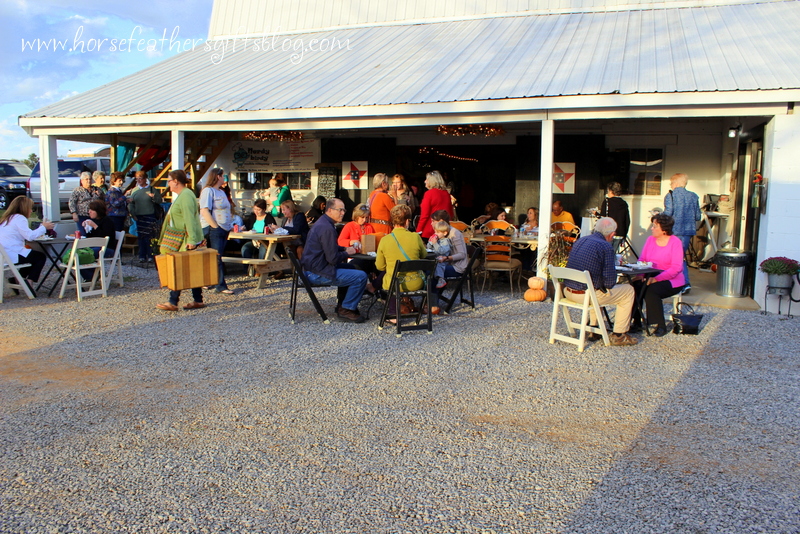
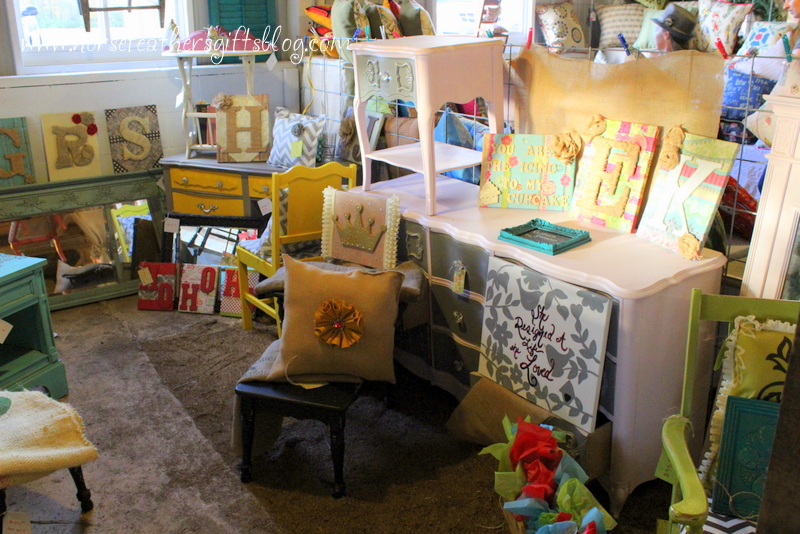
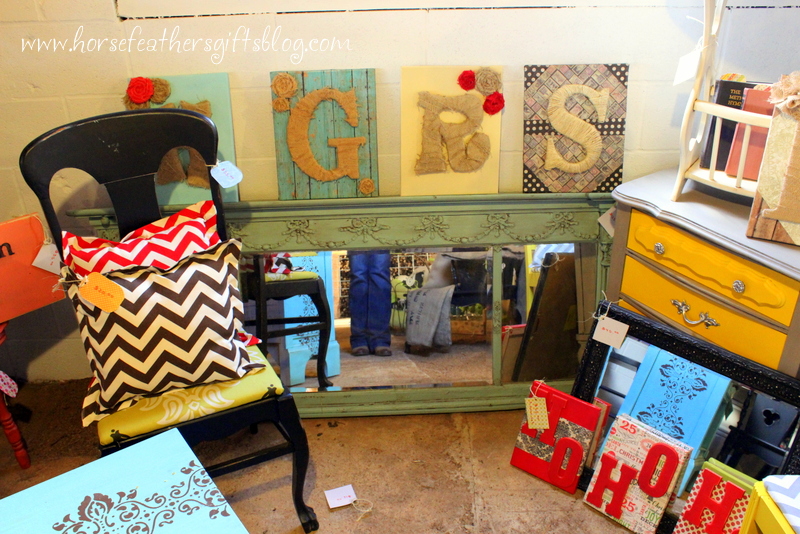
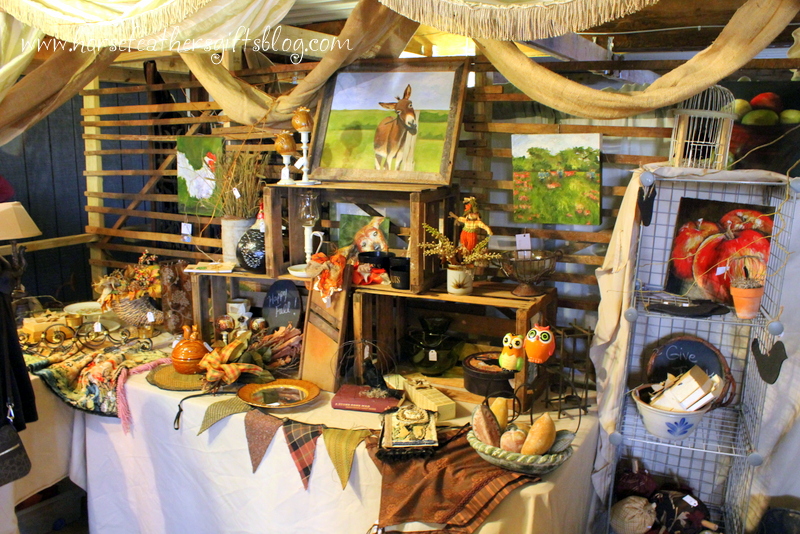
I’m sure you know by now how much we love barn sales! Tonight we ventured about an hour away from our home to the Hayloft barn sale. If you are anywhere in the area we HIGHLY recommend making the trip to checkout this amazing sale!  Just how fab is it? We snapped some pics so you can see for yourself:)

Fall Barn Sale October 18-20
Thursday $10 (Sneak Peek) 4 pm-7 pm
Friday and Saturday 10 am- 6 pm


Pretty darn spiffy huh;) So get your booty over there!

551 Port Royal Road Clarksville, Tennessee 37040